Impressions of China Cove
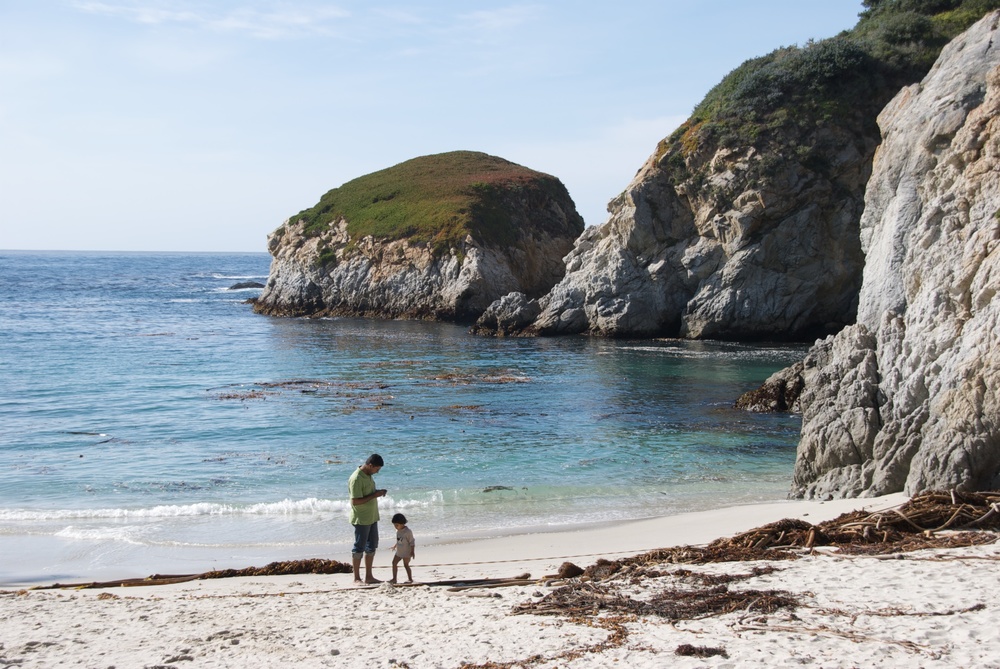
Ok, one more photo of Carmel and then I will give you a break! In this case, it’s more like an artistic rendering of a photo. I tried to turn it into a painting. I snapped this photo (the one at the very bottom) while at China Cove in Point Lobos State Reserve, just outside of Carmel, CA. That version you see is straight out of the camera. It’s not bad but wasn’t exactly exciting to me. Certainly I could do some things to improve it, but instead I thought it would be fun to get a little creative and mix it up a bit. I have seen a lot of photos turned into these Impressionistic images, and figured I would try it myself. So, here you go! I had never done this before, and frankly I am not much of a Photoshop guy. I do most of my work in Aperture and the Nik Software suite. However, I do have Photoshop Elements for things like this. So I just did a little Google search along with some trial and error, and here’s how it turned out! Kinda fun right?
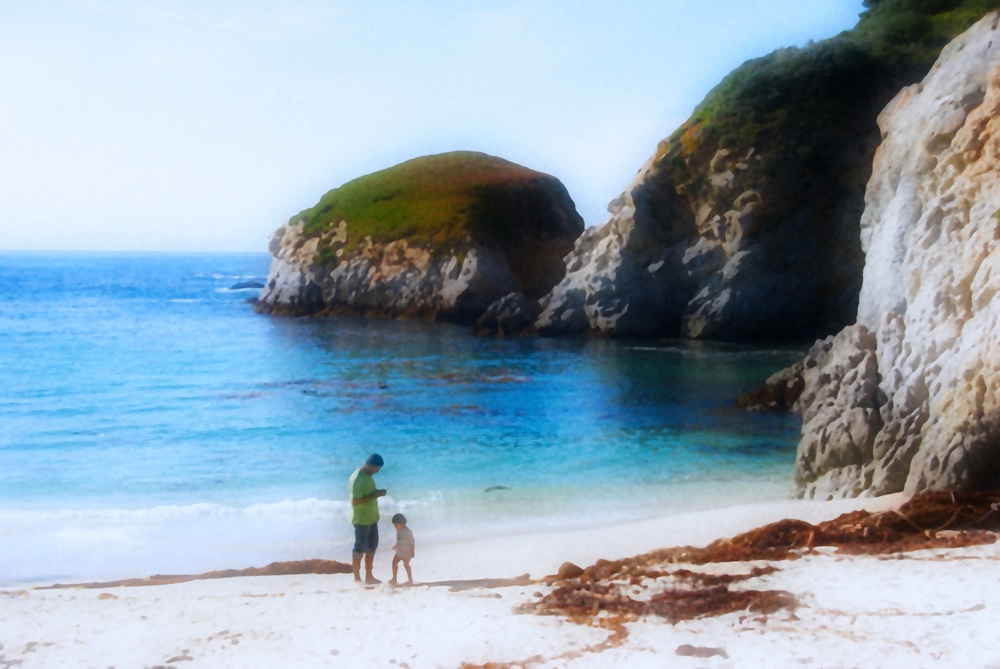
If you are curious, here’s how you do this:
- Open the image in Photoshop and select Layer > Duplicate Layer
- Select the top/duplicate layer and set the blending mode to Overlay
- On the top layer, select Filter > Artistic > Sponge
- Here I just moved the sliders until I liked the look of it
- Then, hit OK
- Select the bottom layer and select Filter > Blur > Gaussian Blur
- I used a radius around 4 pixels
- Then, hit OK
You are done! Afterwards, I messed with it a little in Color Efex Pro, using the Glamour Glow filter to soften it up a little more and give it that little something extra. All told, about 5 minutes work. Pretty fun! Thanks for visiting!
Here's the original, straight-out-of-camera shot, for comparison purposes: