
Luminar Neo Masking Masterclass
Want to make amazing photos using Luminar Neo? To do so you must learn masking - which is about CONTROL. This course will teach you everything you need to know about masking, giving you perfect control over your edits.
Masking is the most critical skill in photo editing. It is what separates good images from great images, and average results from pro-level results. It can elevate your photos and make them really stand out. But SO many people are confused about what masking is, how it works, and how to get the best results.
This Luminar Neo Masking Masterclass will provide everything you need to know to master the use of masking in Luminar Neo.
Master these masking tools and get amazing results in minutes!
I’ve been taking and editing photos for 15 years now, using masking techniques for much of that time, and I have been teaching my techniques for about 10 years now. I’ve had my images published in national and regional publications, printed and hung in both private homes and public businesses, I’ve twice been named one of the top 100 travel photographers in the world by online publications, I am a well-known Luminar Neo expert and Skylum Software Ambassador - and I am here to help!
I get a lot of questions about masking in Luminar Neo, and while I have several videos about the subject on my Youtube channel, this is the first time I have built a course dedicated to this very important aspect of photo editing. I have taken everything that I know about how masks work in Luminar Neo, created lessons for all aspects of masking, and compiled it into this course. This is a massive collection of tutorials, all organized in a logical way, that will take your edits to the next level!
This is the most comprehensive course about masking in Luminar Neo available anywhere!
Note: This course only covers masking options in Luminar Neo, and how to get the best results from them. No other products are covered or discussed. This course does NOT include a copy of Luminar Neo. You will need to purchase that directly from Skylum Software, in order to get the maximum value from this course.
What is Masking?
That’s a great question, and one I get often. Masking is painting. It is the technique used by professional photographers around the globe to craft their images into stunning works of art. It is simply the idea that instead of moving sliders and having them impact the entire photo, you can mask them (paint them) into specific parts of a photo. This means your images do not get over-processed by randomly moving sliders. It gives you control over the process. Thus, your end result is more in line with your vision for the shot, and you are more likely to create balanced, beautiful images.
Why Should I Use Masking?
Masking is about controlling your edit. Masking allows you to very specifically apply the edits you make to your photos. This gives you better results because all sliders do not look good in all parts of a photo, all the time. Customization is really key when you want the best results. You can control light, color, and detail and apply those edits to specific parts of an image.
The demo video above will give you a good idea about why masking is so important. Check it out!
Do I REALLY Need to Use Masking?
That depends on what you want. You don’t have to mask your edits. If you choose not to mask, you are letting the sliders do what they do, across your entire photo. Sometimes, that works and it looks fine. But if you really want to improve your edits, learning how to use and control masks is the key.
Isn’t Masking Complicated, Confusing, and Hard to Do?
No. Luminar Neo makes it very easy, and this course is VERY beginner-friendly. There is even an AI-driven masking tool that can help. We start with the basics and build from there. I walk you through every single step in the process. Yes, there is a lot to know about masking and how to use it, but it is not hard. This course is planned out logically so that each step builds upon previous steps. And you can take your time - there is no rush. Plus, in addition to all the tutorial videos, the course includes an ebook which provides written information about masking. You will finish the course and have a solid understanding of how masks work and how to use them in your editing.
This sounds interesting - what’s included in this course?

17 videos - over 4 hours of instruction! - showing off how I use masks in my editing, and illustrating all my best tips in practical use
20 page ebook sharing lots of information about masking, as well as tips, tricks and insights about how masks work, how to use them, and more
Follow along images (raw files and jpgs) so that you can replicate my exact steps in editing an image using masks
1 texture for layer masking practice
Massive amount of knowledge transfer so your masking skills will improve immediately!
Here is the course outline, and video length for each episode. It’s VERY COMPREHENSIVE!
Video 1: Introduction (7:30) - General discussion about masking, what to expect from the course, and more.
Video 2: Intro to Brush Masking (18:43) - Getting started with brush masking, all the settings, how to use the tool, and more.
Video 3: Mask Actions (7:38) - Diving into how the mask actions work, such as Copy/Paste/Invert, etc. Demonstration of how to do this on your own images.
Video 4: Intro to Linear Gradient (12:29) - Getting started with linear gradients, how to customize and use them effectively, and how I use them in my images.
Video 5: Intro to Radial Gradient (11:22) - Getting started with radial gradients, how to customize and use them effectively, and how I use them in my images.
Video 6: Full Workflow - Venice (25:49) - Full workflow demonstrating how I apply various masks to an image.
Video 7: Full Workflow - La Jolla (21:06) - Full workflow demonstrating how I apply various masks to an image.
Video 8: Full Workflow - Route 66 (23:46) - Full workflow demonstrating how I apply various masks to an image.
Video 9: Mask AI Refinement Tips (12:39) - An example of how Mask AI works, the pros and cons of Mask AI, and how I refine the selections that Mask AI makes for me.
Video 10: Masking Tree Branches (14:29) - Two different examples of using masking to impact a sky behind tree branches. There is no perfect way to do this, but these tips should help.
Video 11: Layer Masking (18:00) - An intro to how layers work and how masking plays a part in crafting a layered image. Also a demo of layer controls and the basics of blend modes.
Video 12: Mask AI Trick - Stack and Subtract (10:37) - The ability to stack masks in Luminar Neo is useful, and this trick shows how you can “stack and subtract” to get a very precise selection.
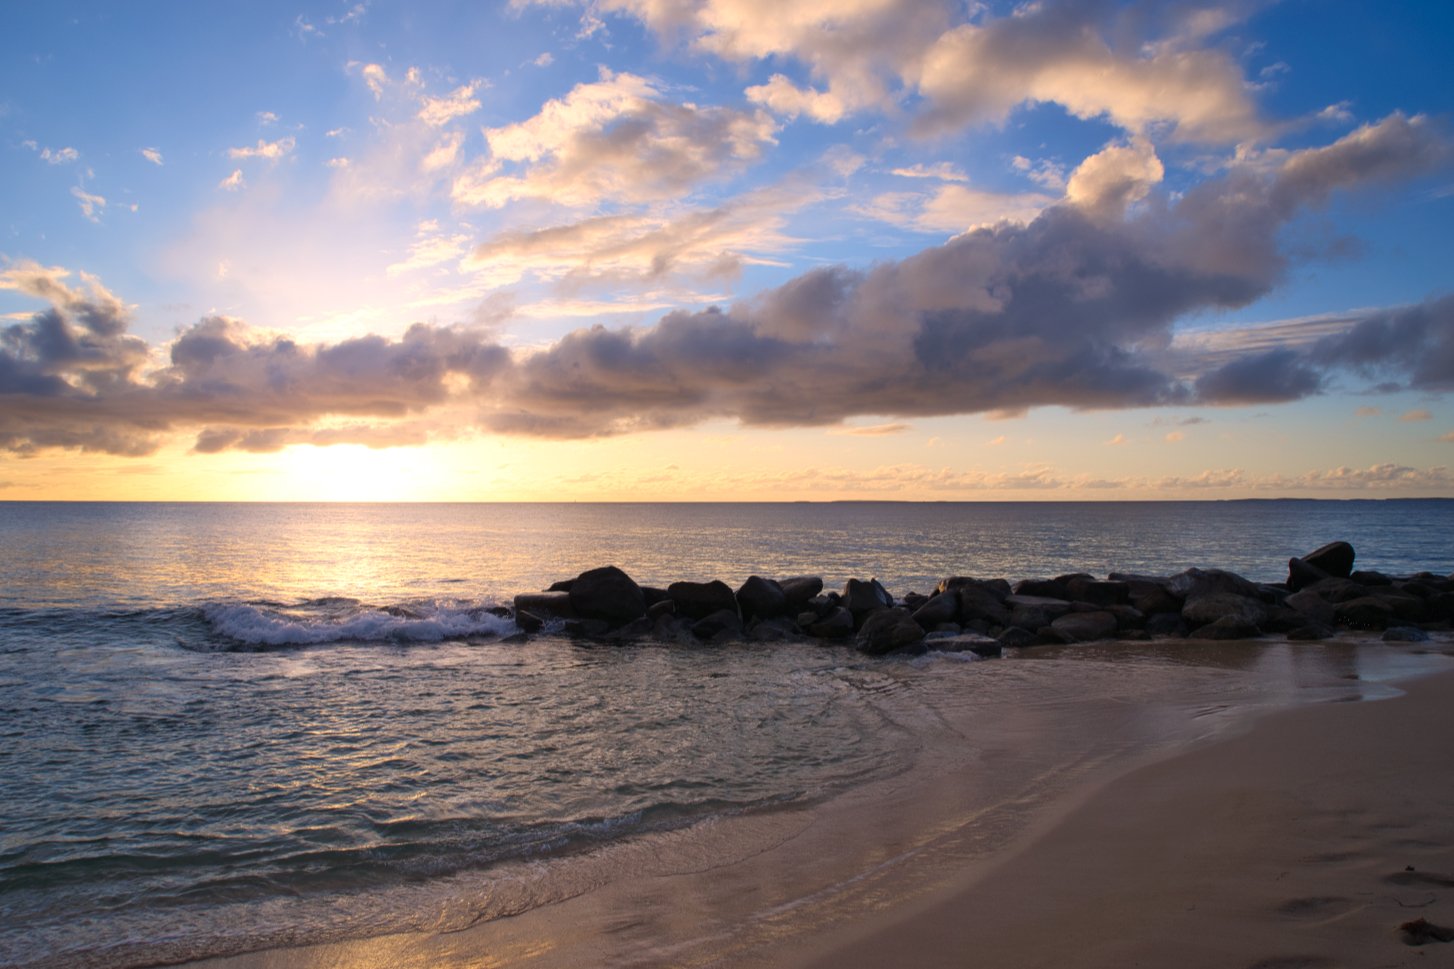
Video 13: Full Workflow - Beach (18:15) - Full workflow demonstrating how I apply various masks to an image.
Video 14: Waterfall Workflow + Dodge and Burn (18:12) - Full workflow demonstrating how I apply various masks to an image, as well as my own version of Dodge & Burn.
Video 15: Masking Wildlife (19:13) - A full workflow demo of a wildlife photo, and how I use masks to control the image edit.
Video 16: Background Removal AI (17:26) - A walkthrough of how Background Removal AI works (in the Layers panel) and how to make selections, plus a primer on blend modes and the tools here.
Video 17: Closing Remarks (1:49)
The Impact of Masking: Before and After Images
Here are example images, from photos that are included in this course, showing how the use of masking can give you complete control over your edit and help you fully customize an image to your liking. In each of these photos, I used masking to specifically adjust light, detail and color in certain areas, while leaving other areas in the image unaffected by those edits. This is how you control an image edit. If not for masking, the final images would look much different!
Note that some videos in the course demonstrate a full masking workflow, and others share tips and tricks for specific needs. (The section above has all the details.) You can make adjustments to your images that are subtle, or more impactful. But the bottom line is - you are in control!


FAQ
TOP QUESTION for AUGUST 2023: Skylum has announced updates that are coming to Luminar Neo over the coming months. Will this impact your course?
ANSWER: I have spoken with people at Skylum, and as of August 2023, I am NOT aware of any planned changes to the masking tools currently in Luminar Neo. I am also not aware of any new masking tools that are coming (i.e. luminosity masks). If there are changes to the current masking tools, I will make a video explaining these changes and showing how to use them. Should there be new masking tools added, I will add more videos covering them to this course, so you will still have use of this course. But I expect the current masking tools to remain relevant for a long time, since they are fundamental to masking in Luminar Neo.
What editing software is this course based on? All of this is specific to Luminar Neo, by Skylum Software. No other products are used in the demo videos. While there is a certain level of knowledge transfer that would occur if you use a different photo editor, this course is dedicated only to masking in Luminar Neo.
Does this course include a copy of the Luminar Neo software? No. You need to purchase that directly from Skylum. You can use coupon code JIMNIXNEO to save $10, or use coupon code JIMNIX10 to save 10%.
Does masking work on various file types? Yes, masking will work on any file type supported by Luminar Neo (various raw formats, jpg, tiff, etc).
What kind of photos is masking applicable to? Masking can work on any photo. It is just about controlling your adjustments and where they go into a photo. It does not matter what the subject matter is. The concepts are applicable to landscapes, cityscapes, portraits, and more.
What kind of masks are in Luminar Neo? Luminar Neo has 4 mask types: Brush mask, Linear Gradient, Radial Gradient, and Mask AI. All 4 are used across many videos in this course, and I will share all my favorite tips and tricks to help you get the most out of all of them. We dive deep on all 4 mask types.
Will this course cover luminosity masks? No, because there is not a luminosity mask function in Luminar Neo at the time of course creation.
What about color range masks? As with luminosity masks, that function does not exist in Luminar Neo, so this course will not include that.
What about all the Masking Actions, like Copy, Paste, Invert, etc? Yes, I have a dedicated video just for Masking Actions, as well as demonstrating how I use them in many of the demo videos that are included in the course.
Are there specific mask refinement tools in Luminar Neo? Not really. You can refine your masks using a brush, and I show how I do that in several of the demo videos. You can still get pretty specific and end up with great results.
Can I combine masks for very specific selections? Yes, you can combine masks and I demo that in the videos.
What kind of photos are used in the demo videos? I primarily shoot landscapes and cityscapes, so that is mostly what the demo videos show. However the tips, tricks and techniques illustrated in the course are applicable to any sort of photo.
What about portraits? What about masking around hair? Yes, masking can be used on portraits, but the demo videos are focused on landscapes and cityscapes primarily. I am not a portrait photographer and thus this course does not focus on portrait photography. Additionally, masking around hair is very detailed and difficult without very specific refinement brushes, which currently do not exist in Luminar Neo. Of course, all the masking information and tips that are shared in the course are applicable to any type of image.
What about Portrait Background Removal in the Layers menu? This will not be covered in the course. This function gets deeper into layers and as with general portrait editing, it will not be covered.
What about wildlife? Yes, masking can be used on animal subjects as well, and there is one demo video that includes an example wildlife image. Of course, the masking information and knowledge shared across the entire course will help you no matter the subject. In the wildlife demo video, I discuss key things I think about when editing this subject matter and how to go about doing it. But as with human hair, masking around animal fur can be challenging due to a lack of detailed refinement tools (depending on the image of course).
What about layers and layer masking? There is a video in this course dedicated to layer masking - that is, how to use masks to blend layers together, for the best results. It will show you how you can selectively show or hide parts of the layer. That video will also include some basic instruction on how layers work and some of the various settings and properties of layers. But to be clear, this video is primarily about layer masking and does not dive deep into all aspects of using layers. Layers is a very broad topic with a lot of uses, and it would require a dedicated course to really cover it all.
What about Background Removal AI? While this is a layers function, I do have a video about this showing how it works and explaining the tools used for it.
Are these videos in 4k? Yes.
Can I download the videos and watch them offline? Yes.
