
Presets vs LUTs in Luminar Neo
Today’s tutorial compares presets and LUTs in Luminar Neo. I cover the pros and cons of each, what the major differences are between them, and discuss and demonstrate when, why and how I use them in my editing. Enjoy!
I’ve recently gotten several questions about presets and LUTs, mostly about trying to understand the difference between these two tools. So as I tend to do, I made a video about it. I also created a chart that shows all the differences, and you can download a copy of it if you join my newsletter (plus you get some Luminar presets and more - all for FREE!).
https://jimnix.com/newsletter
Both tools are excellent, although I feel they are built for different uses. I use both in my editing at times - sometimes it is one or the other, and sometimes I use both on a single image. It just depends on the look I am trying to achieve.
Check out today’s tutorial video and let me know if you have any questions!

Enhancing Details in Luminar Neo
Some quick tips about enhancing details in Luminar Neo.
Interested in getting photo tips every week or so? Join my newsletter and get this goodness sent straight to your email inbox. You also get a preset pack for Luminar Neo absolutely free when you join! Enjoy and thanks!
Enhancing details during an edit can have a huge impact on the image. In fact, I consider Detail to be one of the 3 key tenets of image editing (the other two being Light and Color). I may talk about that in more detail at a later time. But, as with Light and Color, I truly believe you have to be rather careful with it. Here are a few things to consider:
Try Structure AI. It’s a great tool and my favorite one for enhancing details. It’s also human-aware, so you can try it on portraits without crunching up someone’s skin.
I notice that Structure AI also slightly brightens the area where it is applied, so keep that in mind when using it.
I use Structure AI negatively all the time (slide it to the left instead of to the right), which smooths out details and makes it more soft and dreamy. This works great on skies and water.
Use the Details tool itself. I use this one less often, but on certain subjects it really helps. There are sliders for Small, Medium and Large Details, but most of the time I am happy just using Medium. Whenever I try out Small, it feels like it gets really overdone, quickly. Experiment and see what you like.
Regardless of which tool you use, consider masking the adjustments into specific areas. If not, the entire photo can end up looking a little crunchy and over the top. Certain things in a photo look good with enhanced detail, and other things do not. Hence the use of masking - a key skill in photo editing.
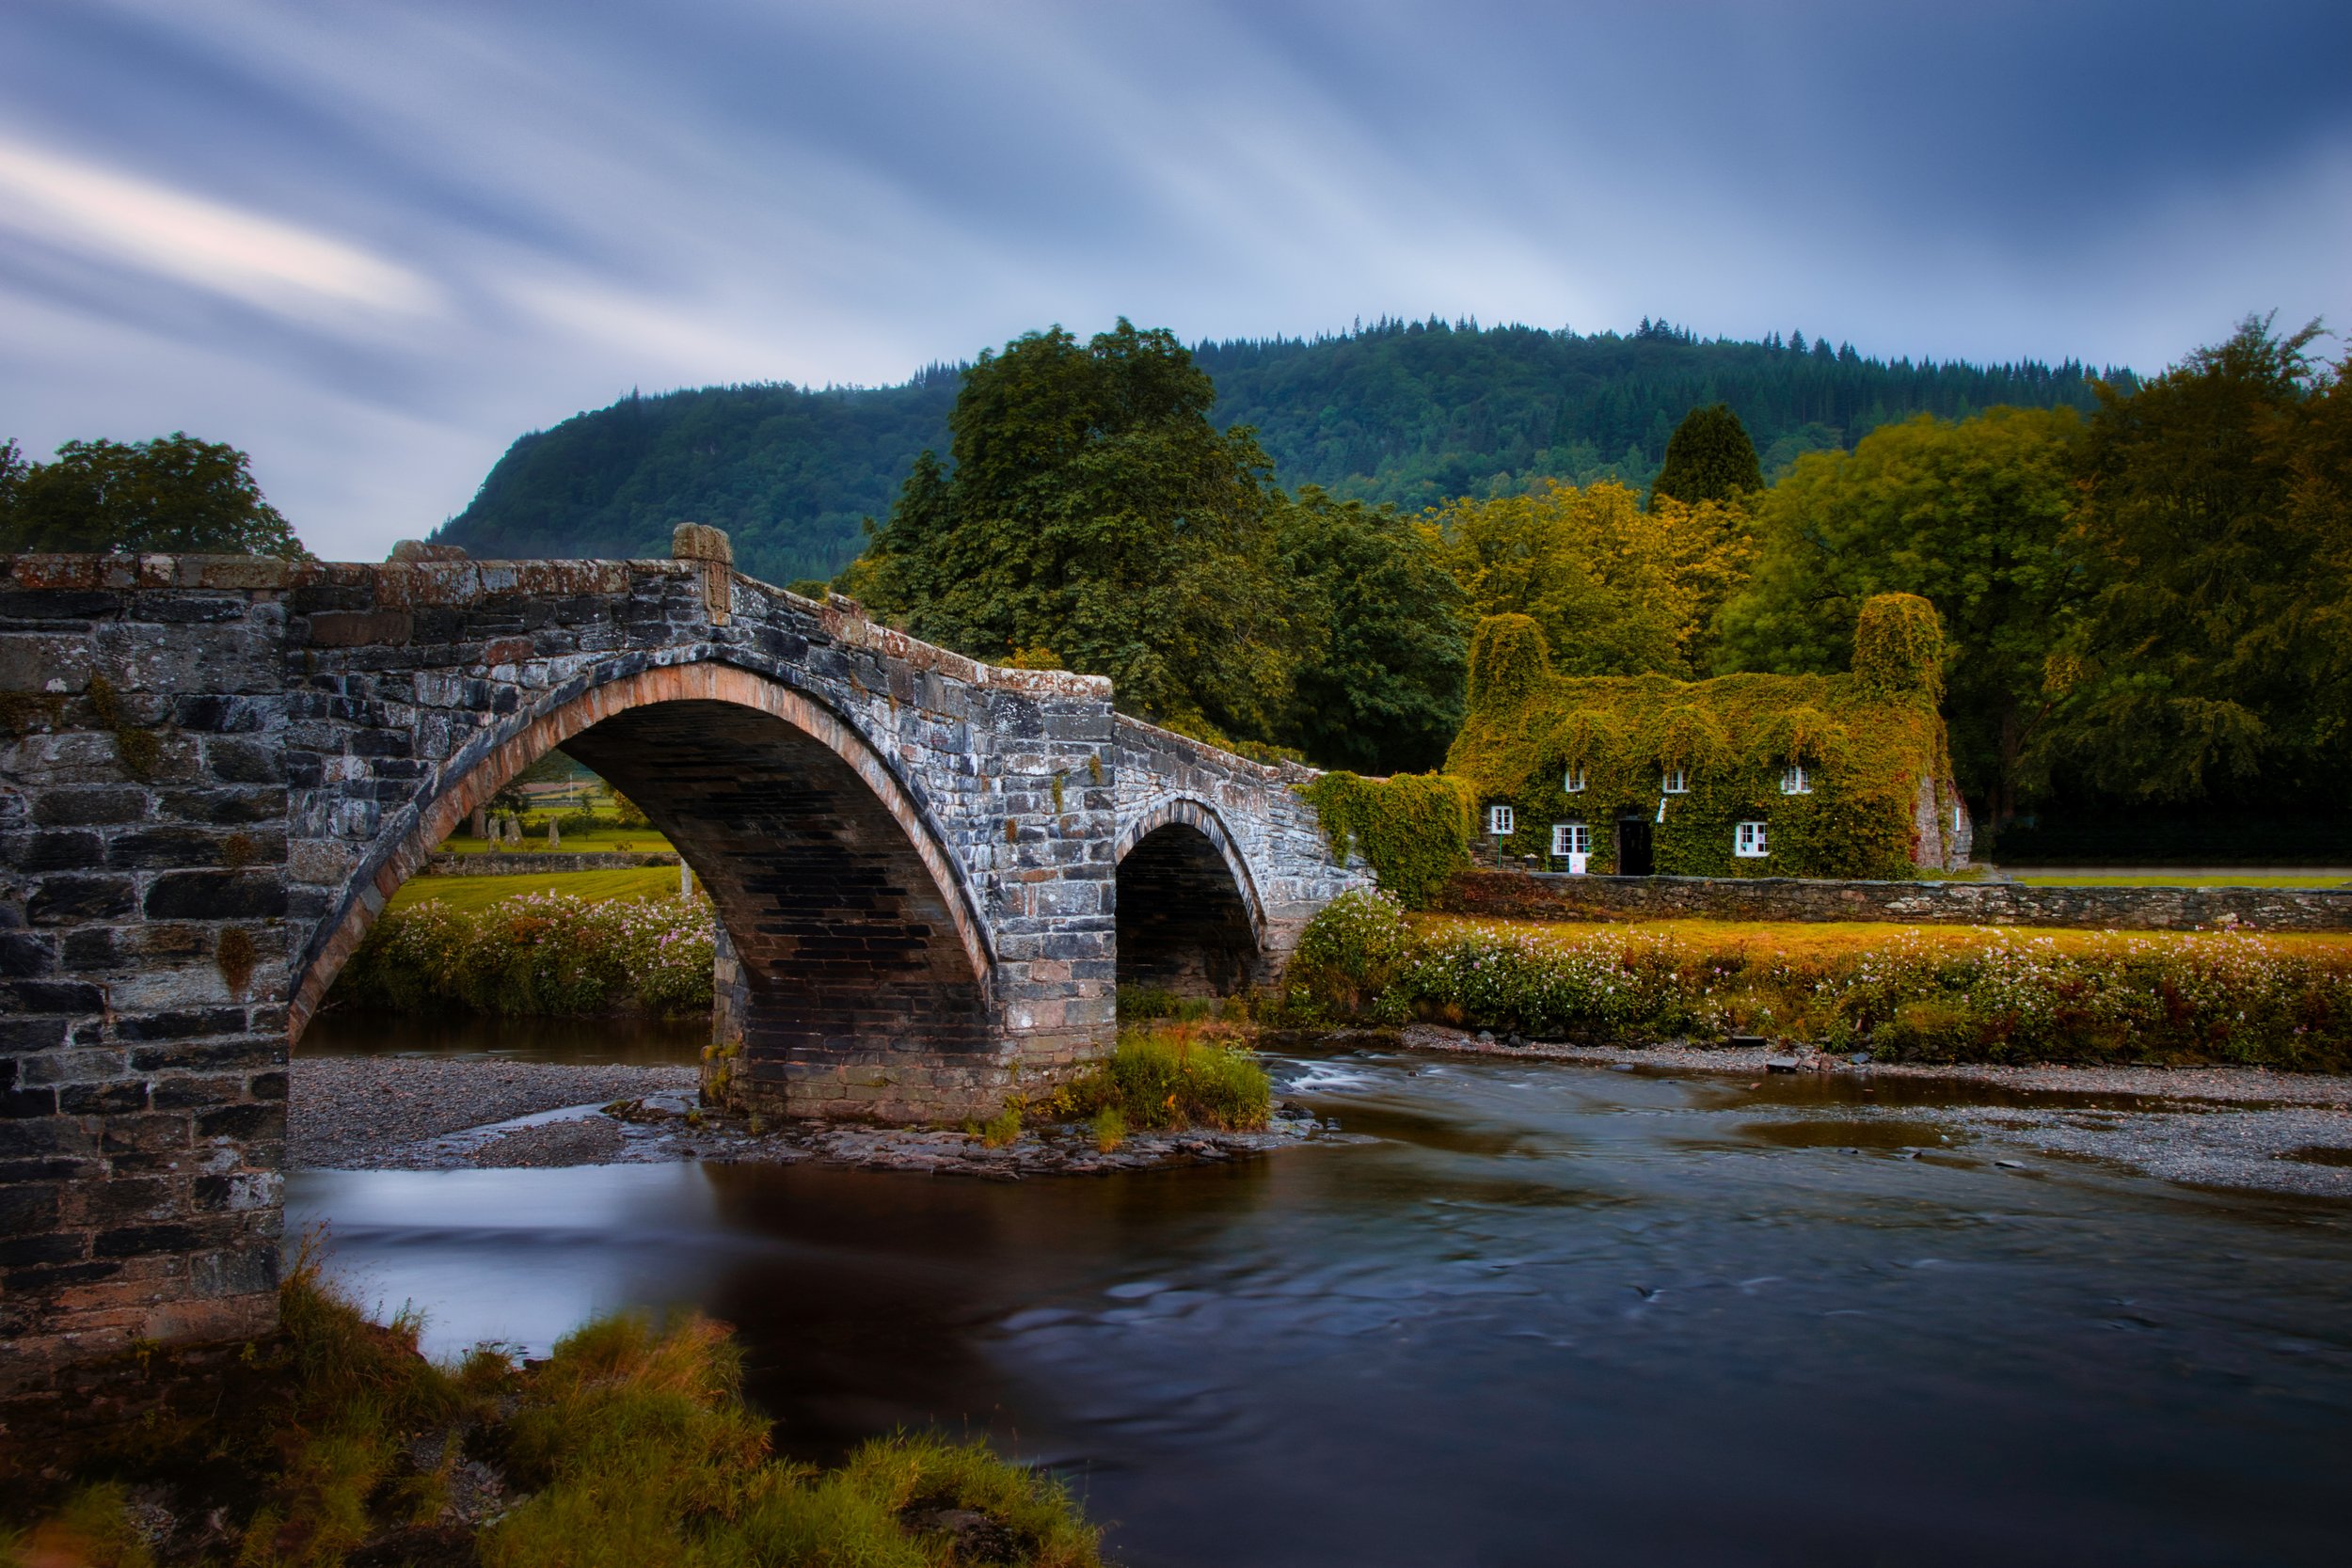
The image below is a great example of this technique. I used Structure AI to increase the crispness of the bridge stonework and the teahouse. Then, I used Structure AI again, but negative this time, to help smooth out the sky and water.

Sunset edits in Luminar Neo
Key tips for better sunset edits using Luminar Neo!
Interested in getting photo tips every week or so? Join my newsletter and get this goodness sent straight to your email inbox. You also get a preset pack for Luminar Neo absolutely free when you join! Enjoy and thanks!
Ah, sunset - that lovely time of day when soft light and warm colors come together to create a little magic in the air. I just love photographing sunset, don’t you? 📸
However, I think you have to be careful with the colors, because if you “over-edit”, the intensity can overwhelm the rest of the scene. Here’s a couple of ideas:
First, do all the light adjustments you want to do (I always start with Develop Raw and then use Supercontrast second).
Do minimal color adjustments in Develop Raw (that is, be careful with Temperature, Tint, Saturation and Vibrance).
Although it is tempting to jump straight to the Golden Hour tool inside of Landscape (in the Essentials section), I recommend using it later/last. It can really bump up those warm tones and overwhelm the edit.
Try Toning. I generally leave the Hue pretty far to the left and just move up the Saturation slider until I like the look. This is just in the Highlights section. I rarely do much in the Shadows section.
Try Color Harmony. Brilliance/Warmth as well as Split Color Warmth are excellent, but my favorite is Color Balance. Again, in that tool I stay mostly in the Highlights section, where I experiment with the Cyan-Red (towards Red) and Magenta-Green (towards Magenta) sliders. Sometimes I will also go into the Shadows and test out the Yellow-Blue (towards Blue).
Don’t use too many color tools. Sunset shots often just need a little bump, so if you use several tools to enhance color, it can get out of control quickly.
Here’s an example photo. I started with Develop Raw and then Supercontrast. Then, I used only Color Harmony to get the colors looking how I wanted them to look (I used Brilliance/Warmth, Split Color Warmth, and Color Balance too - all in just slight amounts). It’s beautiful and colorful, without being overwhelming (at least to my eyes). If I added Golden Hour to the image, it would be oversaturated.

Cannon Beach, Oregon

Topaz Denoise AI - Getting Better and Better!
Topaz Denoise AI gets better and better with every release. Check out these videos where I show just how powerful this app really is!
Topaz Denoise AI - update 3.1 brings even more power and control to this excellent app!
I have been a Topaz user for many years, starting with Topaz Adjust way back in 2010 or so. Since that time, Topaz has developed quite a few products, and lately there has been a huge emphasis on their AI based products: Denoise AI, Sharpen AI, and Gigapixel AI. They are all great products and do a fantastic job at their specific tasks.
Denoise AI is of particular interest to me, primarily because I do not like noise or grain in my images. There is nothing wrong with it, of course, and many people like the look. It just so happens that I do not. So I am usually looking for a way to remove noise and smooth out the pixels in noisy areas. Enter Denoise AI.
I have used this product over the last several years, and find it has gotten better and better in that time. Their latest update, to version 3.1 with the new “Severe Noise” model, is working particularly well for me. So much in fact that I have been using it almost exclusively since getting the update.
So of course I have crafted a few videos about it as well, showing how I am using it, and explaining why, and all that. I have included them down below. In short, it has a really powerful and versatile denoise engine that is working wonders on my images. Check out the videos below for details, and thanks!
If you want a copy of Denoise AI for yourself, you can use this link (affiliate link) and my coupon code JIMNIX to save an extra 15% off! Enjoy the video demonstrations!

Yes, You Can Use Your Own Skies in Luminar 4
Using your own skies in Luminar 4…
I have gotten the same question so many times, people wondering if they can use their own skies for the AI Sky Replacement feature in Luminar 4. Yes you can, and it’s easy to do. Follow along as I demonstrate how this works, and hope it helps!

5 Tips to Help You Prepare for Luminar 4
5 tips that will help you get ready for the new Luminar 4, which is coming really soon!
In this video, I share 5 tips that will help you get ready for Luminar 4, which is coming really soon! Check it out and I hope that it helps you prepare.

Foreground Replacement in Luminar
Replace a foreground in Luminar - quick and easy!
I have done several videos about how to replace a sky in Luminar, but did you know you can also replace a foreground? You can, and it can be quite simple to do. Follow along as I show this trick!

AI, New Sky: A Quick Demo of Luminar 4 AI Sky Replacement
A quick demo of the power of AI Sky Replacement in Luminar 4
Oh boy, you are going to love this feature in Luminar 4! Follow along as I show off the power and fun of the AI Sky Replacement filter in the upcoming release of Luminar 4!

Simple Landscape Workflow in Luminar
A new tutorial video showcasing how I achieved exactly the look I wanted in this shot…
I love to photograph landscapes - who doesn’t? - but I rarely get the chance. So in Wales I made sure to consume as many as possible. In this video, I share some tips for getting exactly the look I want by making quite a few adjustments across several filters. Hope it helps and enjoy!

Minor Tweaks, Major impact
A recent video showcasing how small changes can have a big impact…
Here’s a little video I did showing how a few minor tweaks can make a huge impact on the outcome. Hope it helps and thanks for watching!

Day to Night Fantasy Workflow in Luminar
Follow along as I delve in to the realm of fantasy and create an image that looks like it came from a story!
If you have seen any of my videos, you know I like to try creative things and experiment a lot on my images. In this video, I walk through how I took a photo from mid day in bright light and turned it into a fantasy-inspired evening shot with a lot of mood. It was actually pretty quick and easy, and of course it was fun. Follow along!

Basic Luminosity Masking in On1 Photo Raw 2019
In this video I show how Luminosity Masking works in On1…follow along!
Luminosity Masking in On1 is easy and powerful, which is a great combo. I like to use it on my images to get a subtle application of a particular effect, as well as to control specifically where the effect is applied. Follow along as I show how to do that with On1. Hope it helps!

Getting Experimental in Topaz Studio 2
Follow along as I experiment with some less often used filters in Topaz Studio 2 and end up with a nice looking photo at the end! :-)
One of the great things about Topaz Studio 2 is that there are so many filters, which makes me want to grab them and experiment, just to see what I can come up with. So follow along as I do just that, and end up with a result I was not expecting, but find rather interesting!

Basic Brush Masking in On1
In this tutorial I demonstrate how to use the brush mask in On1 Photo Raw. It’s powerful, but quite easy to do!
Follow along as I show off the easy and powerful brush masking capability in On1 Photo Raw 2019!

Achieving My Vision || Luminar Workflow
Here’s a Luminar workflow video wherein I share some tips and tricks as I work towards what I imagined in my head. It all wort of worked out, too, which is always nice! :-)
This was a fun image to edit, simply because I had a vision that I wanted to achieve with it, and finally got there. It took some work, but it is always worth it. Follow along as I walk through this fun edit. Thanks!